Goal
Create a job that pulls a GitHub repository and runs a shell command. No Jenkinsfile yet — UI-configured only.
Sample repo used in this course:
https://github.com/VenkatMastercoder/jenkins-cicd-projects
Create a Freestyle job
- Dashboard → New Item
- Name:
my-first-job - Select Freestyle project → OK
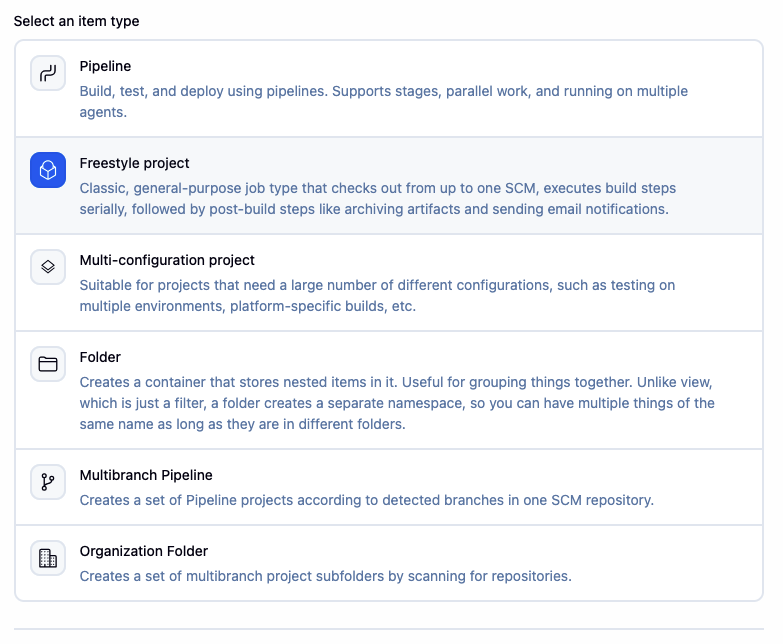
Connect a GitHub repository
On the job configuration page:
- Scroll to Source Code Management
- Select Git
- Enter the repository URL:
https://github.com/VenkatMastercoder/jenkins-cicd-projects
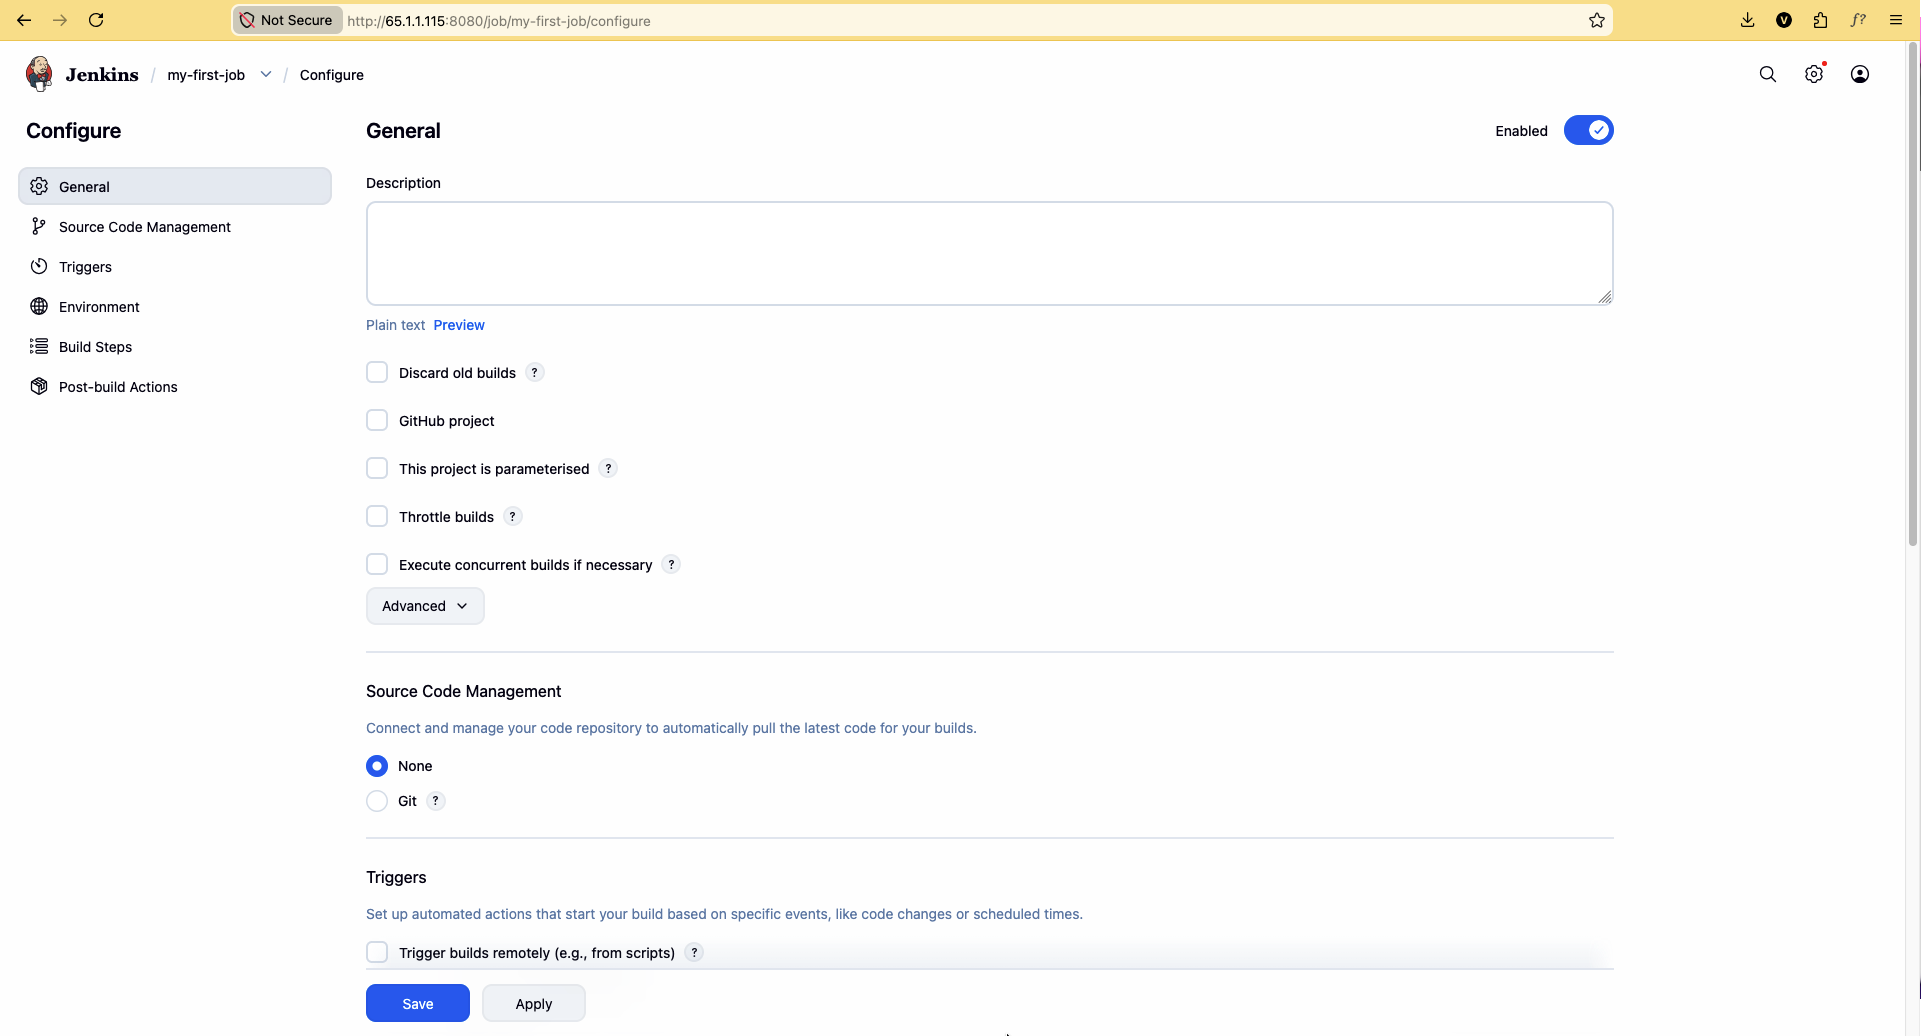
- If the repo is private (or you hit rate limits), click Add → Jenkins credentials:
- Kind: Username with password
- Username: your GitHub username
- Password: a GitHub Personal Access Token (not your login password)
- Set Branches to build to
*/mainor*/master(match the repo default)
Add a build step
- Scroll to Build Steps
- Add build step → Execute shell
- Enter:
echo "Build started!"
echo "Branch: $GIT_BRANCH"
echo "Build Number: $BUILD_NUMBER"
ls -la- Click Save
- Click Build Now
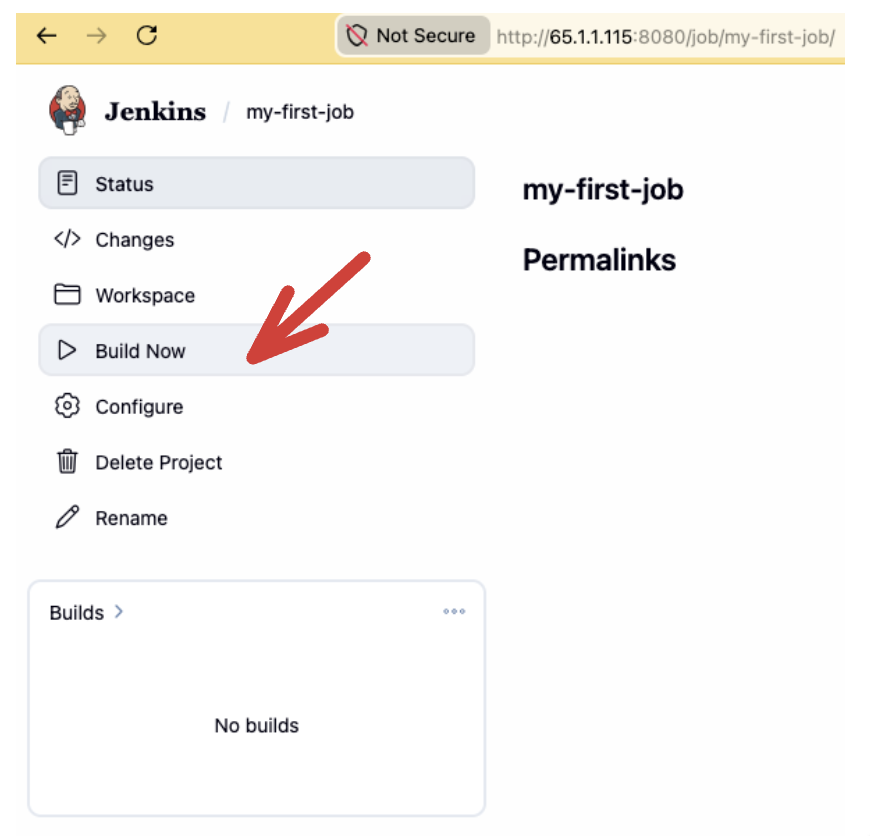
- Open the build in Build History → Console Output
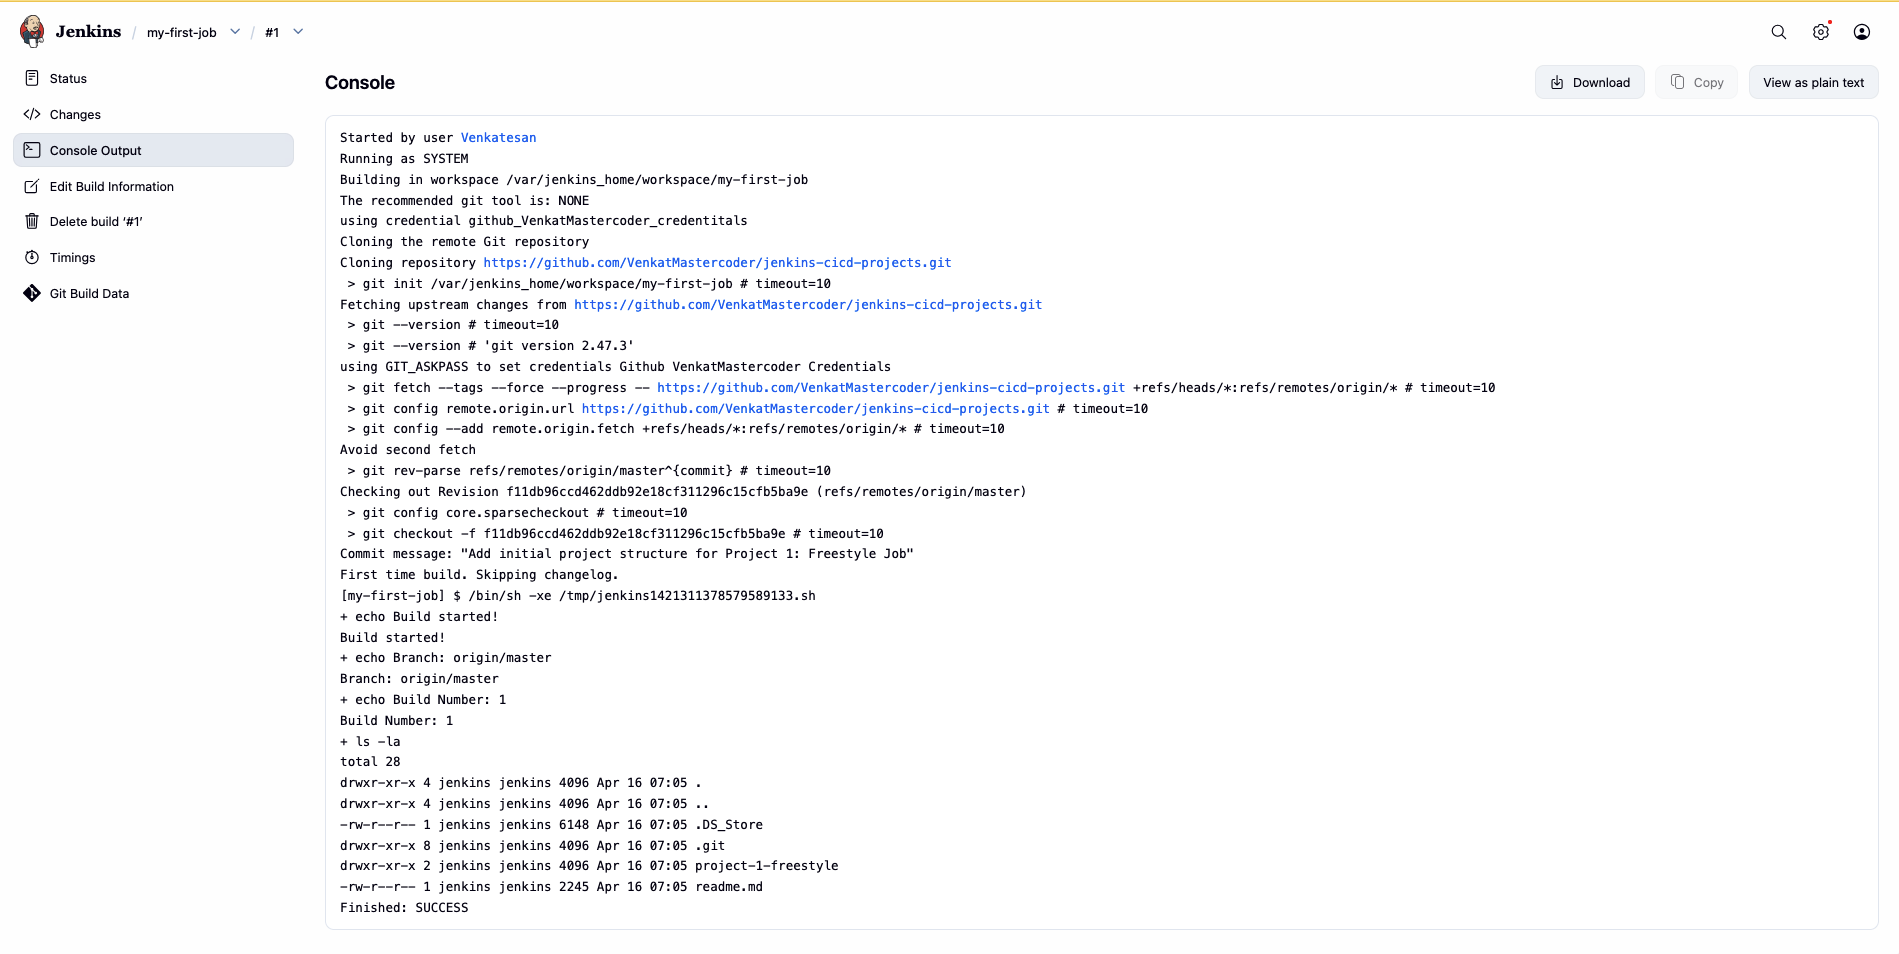
You should see the echo lines and a directory listing. That is your first Jenkins job.
Understand success vs failure
| Result | Meaning |
|---|---|
| Success (blue/green) | Shell exited 0 |
| Failure (red) | Non-zero exit — check Console Output |
| Aborted | Someone (or a timeout) stopped the build |
Common Day 1 failures:
- Wrong branch name (
mainvsmaster) - Missing GitHub credentials for a private repo
- Typo in the shell script
What you achieved today
GitHub repo
    ↓
Freestyle job (UI)
    ↓
Execute shell
    ↓
Console Output → Success / Failure
You set up Jenkins on EC2 and created a GitHub-based Freestyle job. Day 2 extends this job with Node.js, PM2, triggers, email, then introduces Pipeline as Code.